
This article covers how to start a project in Siting, and how to organize your project by type and ISO.
Start a New Siting Project
- Select the Create a new project icon located near the top right of the siting console.

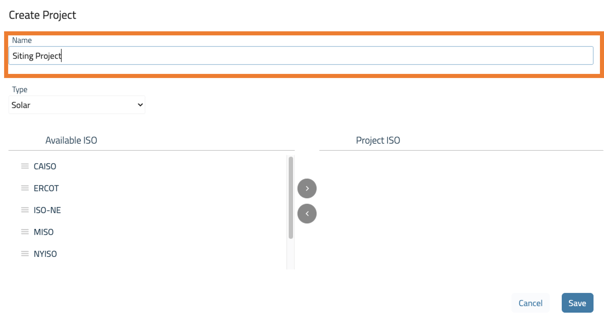
2. Enter a unique project name.
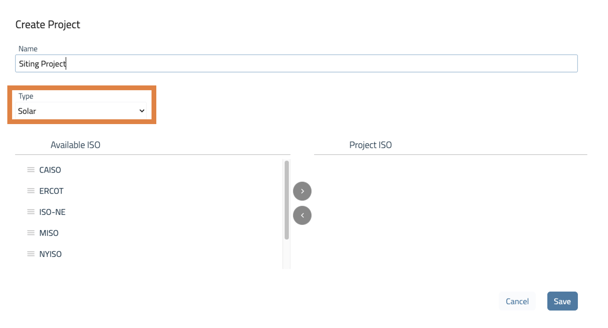
3. You have the option to organize your projects by Type (Solar, Wind, Battery Energy Storage System, Hybrid, or Other) and by ISO. Choose the Type of project from the Type dropdown. The project type will be displayed on the Siting dashboard as color coded map icons. For more on organizing your projects, please see the article: Organize Projects
Choosing a Type is optional. You can add a project type anytime in project settings.
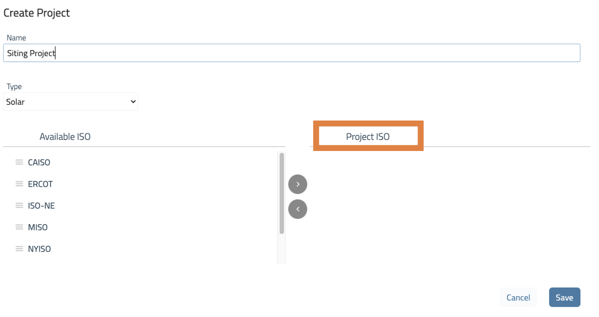
4. If you are organizing your projects by ISO, select an ISO or multiple ISOs by clicking on the name in the Available ISO column. Once the ISO is selected, use the arrows located between the two columns to move the ISO to the Project ISO column. For more on organizing your projects, please see the article: Organize Projects
Associating your project with an ISO is an optional step. You can add a project ISO anytime in project settings.
4. Select Save
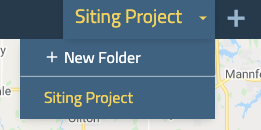
Your new project is now the active project and is also available in the project drop down located to the left of plus icon.
Next Step: Prospect for Sites or Add Sites Manually to your Siting project