The preset layers setup option uploads datasets directly into a site view with preset layers and styles.
Preset Setup
- Open the Dataset Console.
- At the top right; select the New Dataset icon.
- Upload the files by dragging and dropping directly into the box or by browsing for the file.
- Check the boxes next to the available feature classes you want to add to your site view and update each of the dataset names to a Unique Identifier.
- Toggle on the Configure Default Layer.
- Toggle Publish to a Site View.
- Choose between; Add to New Site View and enter new site view name OR Add to Existing Site View and use the search to locate existing site view.
- Choose create.
- Once the process is complete; view the Site View in the Pivvot platform. See Managing Site Views for additional details.
All layers have a display zoom level setting which defines the map zoom level when a layer will be visible in the map. Depending on the site view's default zoom level you may not see the layer displayed until you zoom in closer. Another indication that a layer is not visible because of its display zoom level property is if the layer's name is gray in the Map layer's flyout. The layer name will change to blue when the configured zoom level is met.
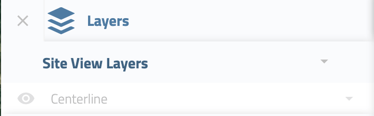
The layer's display zoom level can be modified in the Style step for a Layer.
Default Layers Style Guide
If you choose the Configure Default Layer option the system will automatically build a layer for every uploaded dataset. It will use system defaults to define the style properties. These properties can be modified in the Style step for a Layer.
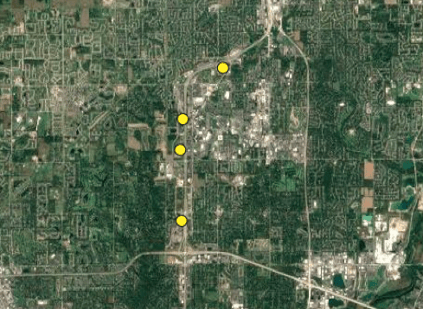
Points
All points are preset to yellow, and display zoom level set to city.
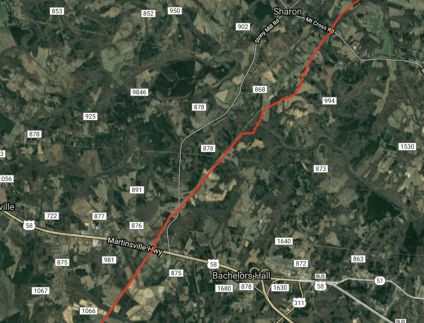
Lines
All lines are preset to red, width 1, and display zoom level set to city.
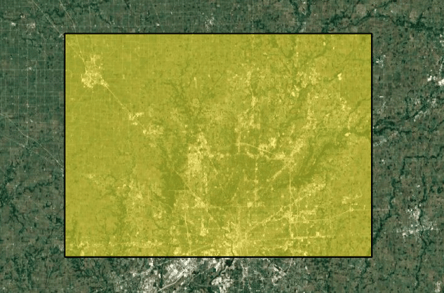
Polygons
All polygons are preset to yellow with a 0.5 opacity and display zoom level set to city.