Create a Layer Group
- Open the Layer Group Console within Publish
- At the top right; select the New Layer Group "+" icon.
- Proceed to the Setup tab.
- Click the Save button at the top right.
Edit an existing Layer Group
- Open the Layer Group Console within Publish
- Search and locate the Layer Group in the list.
- Right-click the layer group > Edit Layer Group OR select the layer group > select the Edit Layer Group icon at the top right.
- Proceed to the Setup tab.
- Click the Save button at the top right.
Layer Group Setup
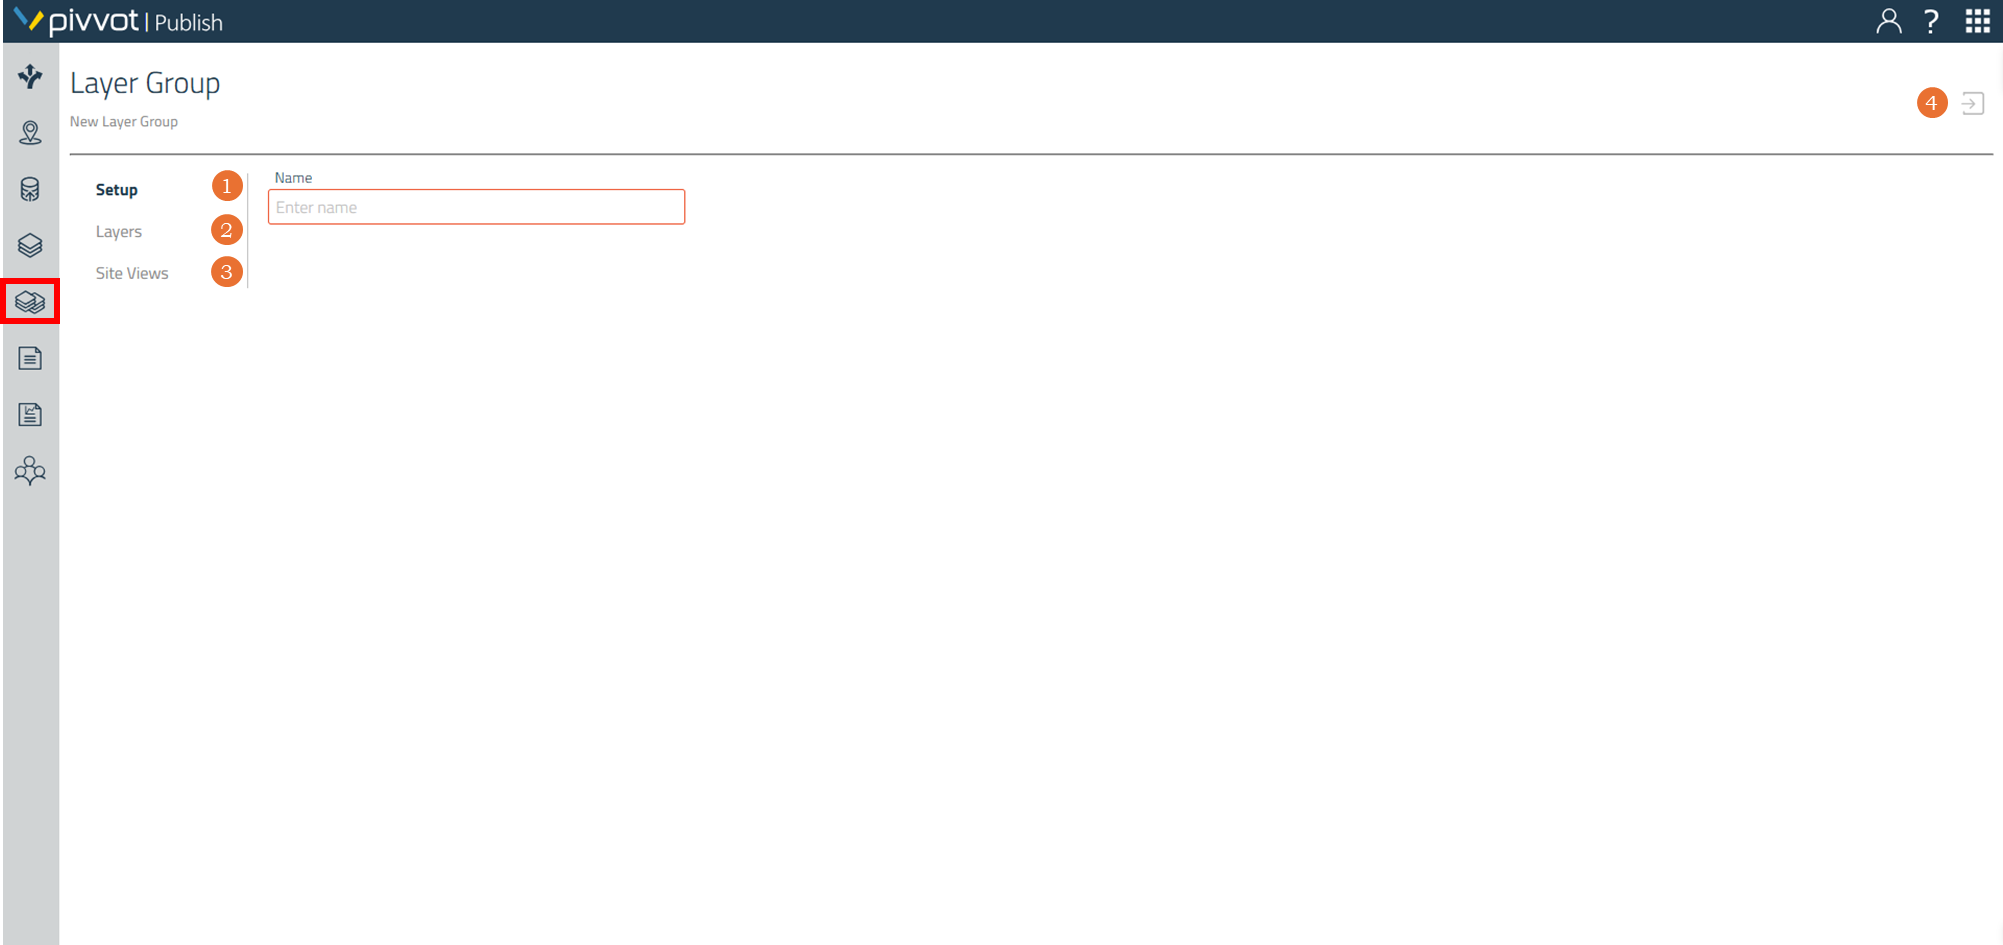
- Setup - Name your Layer Group
- Layers - Select the Layers from "Available Layers" using the direction arrows to move the Layers you wish to include in your Layer Group to the "Assigned Layers."
- Site Views - Select the Site Views from "Available Site Views" you had previously created using the direction arrows to the "Assigned Site Views. " This will allow the option to view your Layer Group in the Assigned Site View.
- Save - Be sure to click the "save" icon on the top right section of your screen once you have finished creating / editing your Layer Group.