Siting Console
The Siting console's main page offers essential details regarding your Siting subscription. This includes information about the number of seats and the number of users assigned to available seats, active projects, and a comprehensive list of all the projects within the account.
When you click on a user's name, it leads you to the Siting user page, providing insights into the number of projects they are associated with and a detailed list of project names for each user.
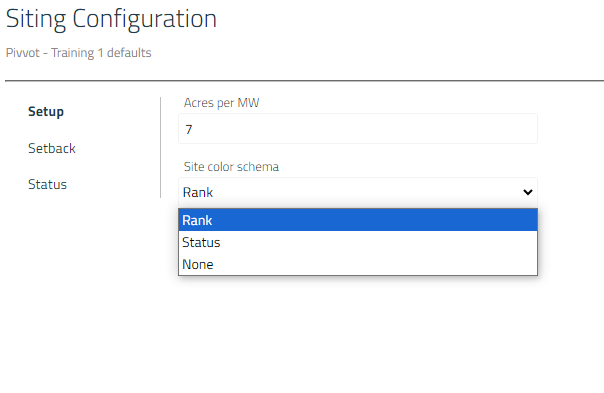
To make modifications to your Siting subscription's features at the account level, simply click on the pencil icon, which opens the Siting Configuration page. Here, you can conveniently adjust settings related to setup, setback, and status.
Setup
You have the flexibility to customize two key aspects: the allocation of acres per MW and the visual representation of your project sites on the map. If you opt for "Rank," your sites will be color-coded according to the star rating you assign to each one in the project sites panel. Alternatively, selecting "Status" will result in color-coding based on the status you assign to each site.
Setbacks
In the setback section, you have the ability to customize each setback that your account will automatically apply in the Usable Area Criteria panel.
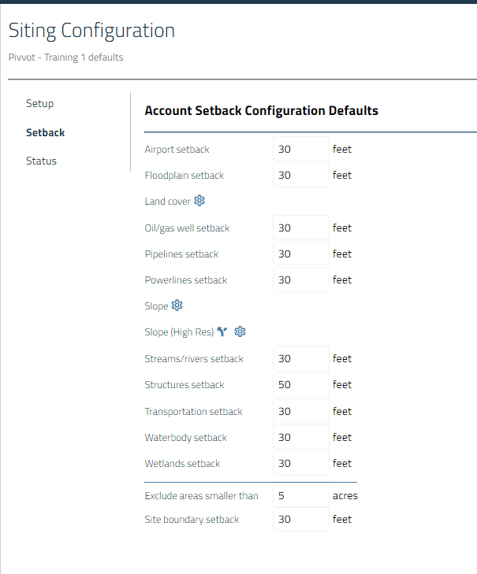
You also have the option to customize which types of land cover are set as unusable by default in your account. Additionally, you can configure the slope degree that your account considers as usable or unusable by default. To do this, simply click on the gear icons.
Status
On this page, you have the option to customize the statuses that your account will use to effectively organize your projects. To create a new status, simply click on "Add new site status default," or if you want to remove a status, click on the trashcan icon. This allows you to tailor the status names to fit your specific needs and preferences.
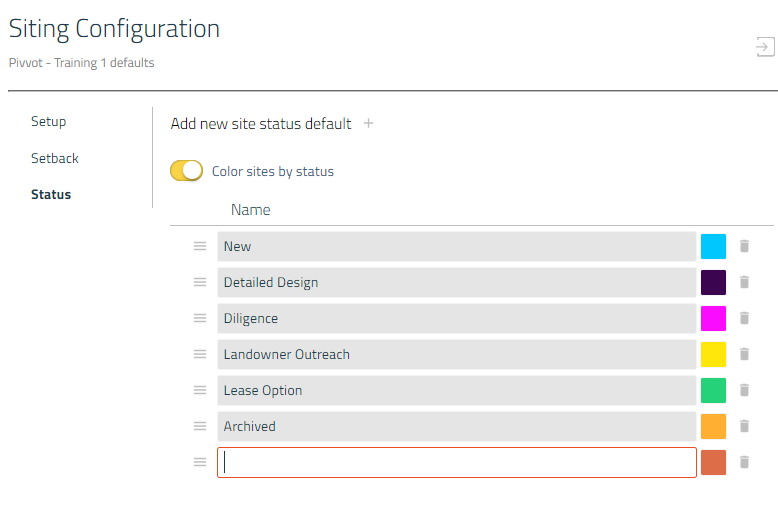
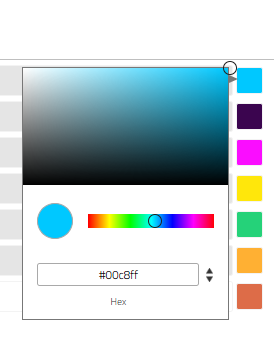
You also have the option to personalize the color of each status by clicking on the color block. From there, you can choose a color or even enter a Hex code to match your preferences.